Celebrity Cheek-Lip Contouring for Beginners
Contouring has taken the beauty world by storm, and today, it’s more than just a trend—it’s a staple in every makeup enthusiast’s toolkit. It allows anyone to redefine their features with the magic of shadows and highlights, creating depth and dimension to enhance facial structure. The art of contouring, once reserved for professionals, is now accessible for beginners who want to achieve that sculpted, celebrity-inspired look. This guide will walk you through the essentials of cheek-lip contouring, helping you master techniques that flatter your unique face shape and features.
Key Takeaways
- Contouring is not one-size-fits-all – It requires adapting to each person’s unique face shape and skin tone.
- Product choice matters – Knowing which products work best for your skin type will yield the most natural-looking contour.
- Less is more – Start with a minimal amount of product to avoid a heavy or overly done look.
- Blending is essential – Proper blending can make the difference between a flawless look and harsh lines.
- Practice makes perfect – Even beginners can achieve a celebrity-inspired look with consistent practice and experimentation.
1. Understanding the Basics of Contouring
Contouring uses contrasting shades to shape the face, enhancing areas like the cheeks and lips while subtly downplaying others. For beginners, it’s helpful to use creams and powders specifically designed for contouring, as these offer better bendability and precision. Knowing where to apply contour and highlight is key; these steps work in unison to create a more sculpted appearance.
2. Choosing the Right Products for Your Skin

For a beginner-friendly contour, select contour and highlight products that are one to two shades darker or lighter than your skin tone. Cream-based products are excellent for dry skin, offering a natural dewy finish, while powders work well on oily skin types by adding a matte texture. Some may also prefer stick-based products for precision application. Always ensure the formula suits your skin to prevent creasing or smudging.
| Skin Type | Recommended Contour Product | Benefits |
|---|---|---|
| Oily | Powder Contour | Absorbs excess oil for a matte finish |
| Dry | Cream Contour | Provides hydration and a natural glow |
| Combination | Stick Contour | Allows precision with a long-lasting effect |
3. Preparing the Face with Base Makeup
Before diving into contouring, start with a clean and primed canvas. Apply face makeup, including foundation and concealer, for a flawless base. This will ensure that your contour products blend effortlessly. For best results, choose a lightweight foundation to avoid a caked look. Remember, the purpose is to add dimension, so the base should allow the contouring to shine through.
4. Mapping Out the Cheekbones
High cheekbones are a hallmark of many celebrity looks, and contouring the cheeks can add structure to the face. To find the correct placement, use your fingers to feel the hollows of your cheeks, then apply contour along this natural indentation. Blending upwards will create a lifted effect, enhancing the face’s natural structure without appearing overly done.
5. Creating the Perfect Shadow Under the Jawline
The jawline contour technique sharpens the lower face, giving it a chiseled effect. Apply contour right under your jaw and blend it downwards towards the neck to avoid harsh lines. For a more natural effect, make sure your contour shade is only slightly darker than your skin tone.
6. Defining the Nose for Balance

Nose contouring can be intimidating for beginners, but it doesn’t have to be complicated. Use a small, angled brush to apply a line of contour down each side of your nose, blending thoroughly to avoid stark lines. This technique adds balance to your facial structure, drawing attention to your cheeks and lips without overemphasizing any one area.
7. Lip Contouring for Fuller-Looking Lips
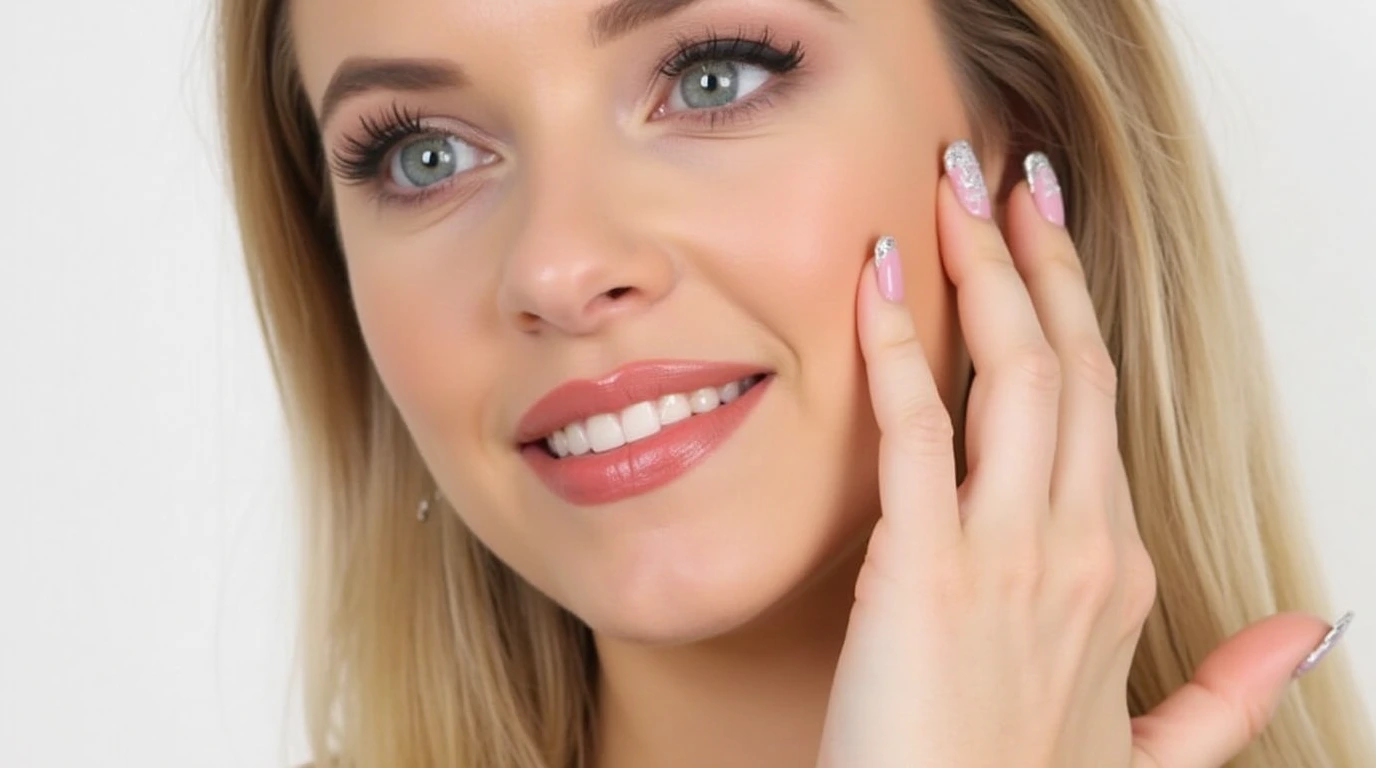
Lip contouring gives the illusion of fuller, poutier lips a coveted look popularized by countless celebrities. Start by applying a slightly darker shade of lip liner on the edges of your lips, blending inward. Add a lighter, nude shade at the center of the lips, topped with a gloss for dimension. This technique draws light to the center, making lips appear naturally plump.
8. Complementing with Eyes Makeup
To bring everything together, eyes makeup should complement your cheek and lip contour. Neutral or soft shades on the eyes can keep the focus on your newly contoured features. A subtle application of mascara or eyeliner will add definition without overwhelming your look. Avoid intense, smoky eyes when you’re learning contouring, as they may distract from the rest of your makeup.
9. Highlighting for Contrast

Highlighting plays an essential role in contouring by emphasizing areas like the tops of the cheekbones, the bridge of the nose, and the cupid’s bow. Apply a light, shimmery highlighter to these areas to create contrast with the contour. Highlighting adds brightness and keeps the face looking fresh, allowing the contour to work harmoniously for a more natural effect.
10. The Art of Blending: Making It All Seamless
Blending is crucial to achieving a cohesive, natural look. After applying your contour and highlight, use a damp makeup sponge or brush to blend in circular motions. This softens any harsh edges, ensuring that shadows and highlights transition smoothly. Spending extra time on blending will help you avoid obvious lines and achieve that enviable celebrity finish.
FAQs
- How do I choose the right contour shade for my skin tone?
Select a shade that is one to two shades darker than your natural skin tone. For a more natural look, choose shades with undertones that match your skin. - Can I use regular foundation for contouring?
You can use foundation in a darker shade for contouring, but dedicated contour products often offer better control and bendability. - Is powder or cream contour better for beginners?
Cream contour is generally easier for beginners to blend and control, while powder is preferred for oily skin types due to its matte finish. - How can I avoid making my contour look too harsh?
Less is more. Start with a small amount of product and blend thoroughly, adding more if needed. - What is the best way to make my contour last longer?
Setting your makeup with a translucent powder or setting spray can extend the longevity of your contour, especially if you have oily skin.
With these techniques, you’re well-equipped to start your journey into contouring with confidence. Just remember, as with any makeup technique, practice and experimentation will help you discover the style that suits you best. So, go ahead and add that celebrity-inspired definition to your cheeks and lips, and watch your face transform into a masterpiece.

